From artwork to a finished stitchout: the whole journey
A picture on a screen and thread on a garment are nine steps apart. None of them is hard, and most failed first stitchouts come from skipping a step rather than from getting one wrong. This is the whole journey in order, with the detailed guide for each step linked where you need it.
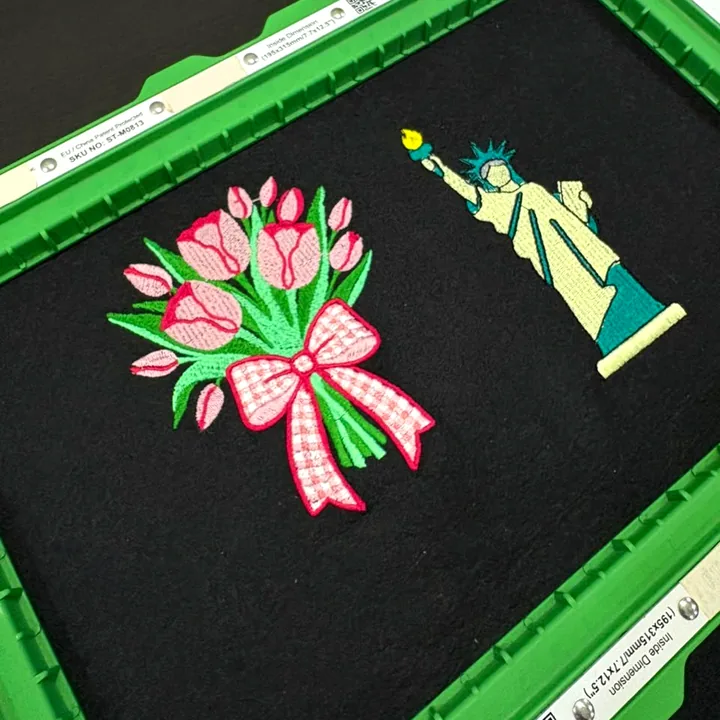
1. Start with artwork that can be stitched
Embroidery has no tones, only thread. Flat colours and clear edges sew well; gradients, soft shadows, photographs and hairlines do not. Simplify before you digitize: merge near-identical shades, because every colour is a thread change, and thicken or drop any line thinner than about 1.5 mm. The logo guide goes through this in detail, and small text has its own limits.
2. Decide the finished size, and the hoop
Digitize at the size you will sew. Scaling a finished design changes its density and how much it pulls, so a design stretched from 60 to 100 mm sews thin. Then set the hoop you will actually use, from the Hoop menu. The hoop on the canvas is your guide to what fits: keep the design inside it with a little margin, since the needle cannot reach the frame.
3. Turn it into stitches
There are two routes, and most designs use both.
- Convert it. Import a PNG, JPG or SVG and let auto-digitize find the colours and shapes. It is a starting point you then edit, and it works best on flat artwork. You can also try it on the image to embroidery page without opening the editor.
- Trace it. Drop the picture on the canvas as a backdrop, lock it, and draw over it with the run, satin and fill tools. Draw what sits behind first: that is also the order it should sew.
Either way, each shape gets a stitch type. Satin for anything long and narrow, fill for areas wider than about 12 mm, run for fine detail. Satin or fill covers where the changeover is.
4. Set it for the fabric, not the screen
The same artwork needs different numbers on a polo shirt, a towel and a canvas bag. Density decides how heavy the stitching is, underlay holds the fabric still underneath it, and pull compensation makes up for shapes sewing narrower than they were drawn. If in doubt, go looser: too dense causes more failures than too light.
5. Check it before it leaves the screen
- Switch between Outline, Stitches and Realistic to see the shapes, the needle points and the finished look.
- Play the stitch simulation and watch the order. Big areas should sew first and details last, with as few thread changes as the design allows. Reorder in Layers by dragging.
- Read the machine safety status. It flags stitches too short or too long to sew, density stacked on density, and long jumps.
6. Export the format your machine reads
Press Export and choose the format for your machine. All ten formats are on the free plan.
- PES: Brother, Baby Lock
- JEF: Janome
- DST: Tajima and most commercial machines
- EXP: Bernina, Melco
- VP3: Pfaff, Husqvarna Viking
The rest are in file formats. Keep your editable design as well: File, Save .stc. A machine file is only a list of needle points. It has forgotten which shape was a satin and what its density was, so it is the wrong thing to come back and edit.
7. Get it onto the machine
Most machines read a USB stick. Copy the exported file onto it, plug it in, and choose the design on the machine's screen. If the file does not appear, the usual reasons are a stick that is too large or not formatted as FAT32, a file name the machine finds too long, or a folder it does not look in. The machine's manual says which.
8. Hoop, stabilise, and test sew
Hoop the fabric taut but not stretched: stretched fabric relaxes when it comes out of the hoop and the design puckers with it. Choose the stabiliser for the fabric, not for the design. Then sew a test on a scrap of the same fabric with the same stabiliser. It is the step people skip, and the one that saves the garment.
What to look for in the test:
- Fabric gathering round the design: see puckering.
- Gaps between colours that met on screen: more pull compensation, or a little overlap between the shapes.
- Thread breaking in the same spot each time: see thread breaks. It is usually density.
- Small lettering filling in: it is below the size satin can hold.
9. Adjust one thing, and sew the real one
Change one setting at a time, so you know what fixed it. Open the .stc, make the change, export again, and sew. When the test is right, the garment will be too.
Common questions
Which file format does my embroidery machine need?
It follows the brand. Brother and Baby Lock read PES, Janome reads JEF, Tajima and most commercial machines read DST, Bernina and Melco read EXP, Pfaff and Husqvarna Viking read VP3. If you are not sure, the machine's manual lists it. Exporting the wrong one does no harm: the machine simply will not show the file.
How do I get the design onto the machine?
Most machines read a USB stick: copy the exported file onto it, plug it in, and choose the design on the machine's screen. Some older machines want a small stick formatted as FAT32, a short file name, or a particular folder, so when a file does not appear those are the first things to check in the manual.
Why does my stitchout look different from the preview?
Thread pulls fabric in along the direction of the stitches and pushes it out across them, so shapes sew a little narrower one way and wider the other. The fabric, the stabiliser and the hooping decide by how much. The preview shows where the needle goes; a test sew on the real fabric shows what the fabric does about it.